How to Make Latte Art at Home: Pitcher Control, Patterns, and Practice
Latte art at home is pitcher control plus milk texture, not a secret wand. Start with a 20 oz pitcher, a simple heart, and espresso that is not a race to the bottom of the cup.
By Alex Turner
Baristapicks is reader-supported. As an Amazon Associate we earn from qualifying purchases. Learn more.
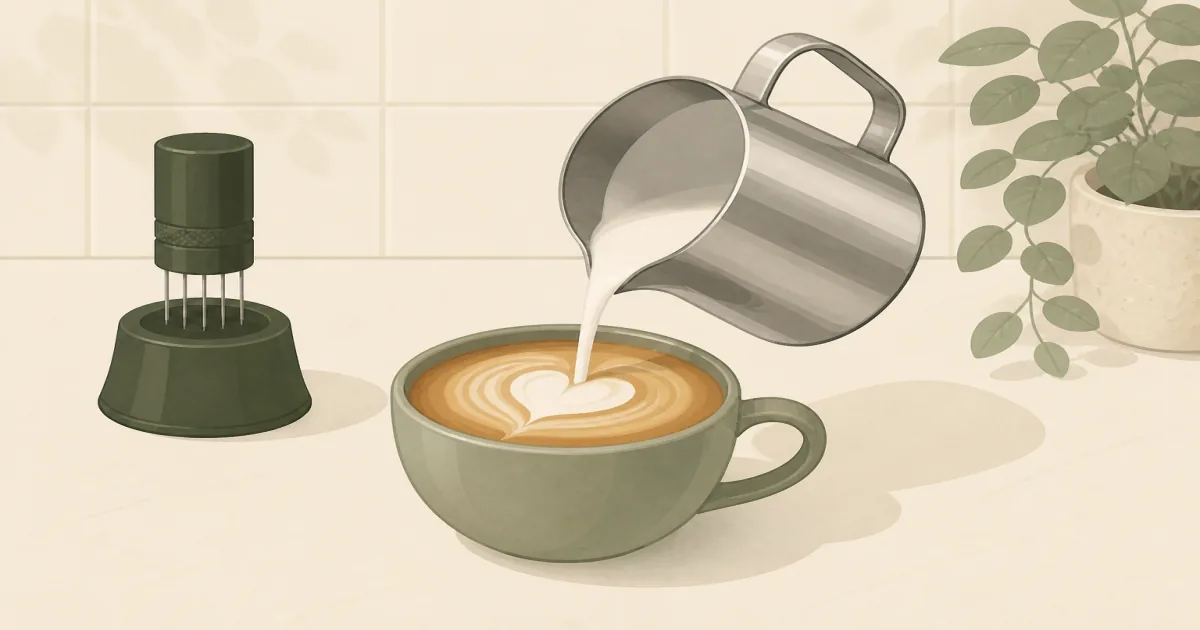
The short answer: Latte art at home is milk texture plus pitcher control. Start with a 20 oz stainless pitcher, learn a glossy microfoam, and pour a heart before you chase a rosetta.
Our picks
Latte art is not a different coffee category. It is the last two seconds of a milk drink you already make. If your milk is stiff foam or your espresso is a thin race to the bottom of the cup, no spout will save the pattern. Build texture first with our how to steam milk at home guide, then use this page for pour practice.
What you need before patterns
You need espresso with some body, not a watery Americano in a wide bowl. You need a steam wand you can bury and tip. You need a pitcher with a real spout. Wide kitchen measuring cups fight you.
The Rhino Professional Milk Pitcher 20 oz is a practical home size. You can stretch milk for a latte without filling it to the brim, and the spout is sharp enough to aim. A thermometer helps while you learn. The CDN frothing thermometer clips on so you stop scorching milk to 170°F and wondering why the art collapses.
Shop: Rhino 20 oz pitcher on Amazon (paid link) · CDN thermometer on Amazon (paid link)
If your machine is milk-drink focused, our espresso machine for latte guide covers wand types. Handheld frothers can make foam for cappuccinos. They rarely give the glossy microfoam free-pour art wants.
Milk texture that can pour
Cold milk, pitcher cold, wand tip just under the surface for a second or two of stretch, then bury the tip and spin. Stop around 140 to 150°F while you learn. You want paint-like gloss, not soap bubbles. Tap the pitcher and swirl until the surface looks shiny.
If you see dry foam floating on thin milk, you stretched too long. If the milk looks flat and dead, you never stretched. Fix that before you practice hearts.
Pour a heart
Pull the espresso into a cup you can see into. Swirl the milk. Start pouring from a few inches up to sink the milk under the crema and fill the cup about halfway. Drop the pitcher spout close to the surface, slow the pour, and let a white circle open. Push forward through the circle to make a heart point.
Common failure: pouring from high the whole time. High pour mixes. Low pour paints. Another failure: whipping the pitcher sideways before the circle opens. Keep the spout centered, then push through.
Then try a simple rosetta
Once hearts look intentional, add a gentle side-to-side wiggle while the spout is close, then push through. Small wiggles. Slow forward movement. If the leaves smear, your milk is too thick or your pour is too fast.
Film one pour from above. You will see height and speed mistakes that feel invisible in the moment.
Practice plan that does not waste a bag of beans
Do ten texture-only steams focusing on gloss. Then ten heart pours. Change one variable per session: stretch time, pour height, or push speed. Do not invent a new pattern every drink. Consistency beats novelty.
Whole milk is the easy training milk. Barista oat can work later. Skim fights you. Flavored syrups after the pour are fine. Syrup in the milk pitcher before steaming usually ruins texture.
Cup shape, espresso, and other quiet variables
A wide bowl fights contrast. A rounded tulip or cappuccino cup helps the white sit on top of the crema. Too little espresso and the canvas is watery. Too much bitter, blond espresso and the pattern browns out. Dial the shot before you blame the pitcher.
Wand power matters. Weak panarello sleeves can still heat milk, but free-pour microfoam is harder. If your machine struggles, prioritize texture practice and a smaller drink size before chasing tulips. Our espresso machine for latte guide helps when the wand is the real bottleneck.
Keep the pitcher and wand clean. Old milk film makes new foam collapse. Purge the wand before and after. Wipe immediately. A dirty tip injects weird bubbles that no pour can fix.
When to stop chasing art
If you just want a good latte, glossy milk poured without a pattern is still a win. Art is optional feedback that your texture and pour height are under control. Guests care more about temperature and sweetness than whether the heart has a perfect point.
If practice is stressing you out, drop the thermometer once you can guess 145°F by touch, keep the pitcher, and pour for taste. Come back to patterns on a weekend when nobody is waiting for the bathroom. A calm ten-minute practice block beats twenty rushed pours before work. Keep notes on stretch time and pour height so tomorrow is not a full reset.
Bottom line
Make latte art at home by fixing milk texture first, then pouring low and centered. A 20 oz stainless pitcher and a simple thermometer remove two beginner excuses. Learn a heart, then a rosetta. Everything else is practice volume.
More milk and machine help lives on the blog. The homepage is the wider kit map if you still need a wand-capable machine.
Frequently Asked Questions
Do I need a special espresso machine for latte art?
You need a steam wand that can texture milk and espresso that is not watery. Super-automatics with auto frothers can make foam, but free-pour art usually wants a wand you control. See our steam milk guide first.
What pitcher size is best for home latte art?
A 12 to 20 oz pitcher covers most home drinks. The 20 oz Rhino-style pitcher is forgiving while you learn the roll and pour.
Why does my latte art look like a blob?
Milk is usually too thick, too thin, or poured from too high. Fix texture first, then pour closer to the surface to open the pattern.
Whole milk or oat milk for latte art?
Whole milk is easier for beginners. Barista oat milks can work, but they behave differently and need more practice.
Can I practice latte art without espresso?
Yes. Practice steaming texture with water and a drop of dish soap in a pinch for foam drills, then move to real milk and espresso when the motion feels familiar. Real milk still teaches flavor and temperature better.
How long until latte art looks decent?
Most people need dozens of pours, not one weekend. Film your pour from above once. It shows height and speed mistakes faster than guessing.
Heart or rosetta first?
Start with a heart. It teaches centering and a simple push through. Rosetta comes after you can keep the pitcher steady.